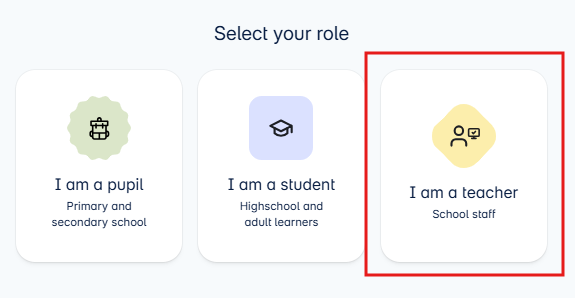
- Login to Nova at https://nova.otava.fi/login Select the role as Teacher.
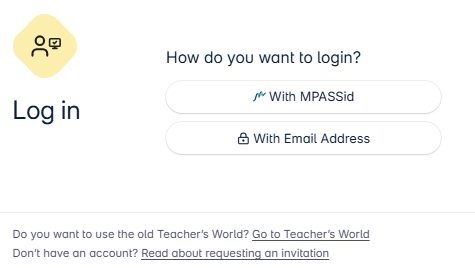
- If your institution uses MPASSid authentication, choose MPASS-id as the login method. Otherwise, log in with the email address and password you registered with.
- You can log in to Nova using your current Teacher’s World credentials.
- If you want to use the old Teacher’s World, you have a chance to go there until summer.
If you do not have Opepalvelu credentials or are joining a new school
- If you do not have an account or are joining a new school, contact your school’s administrative staff who acts as the school’s administrator in Nova (e.g., school secretary). They will invite you to use the service in Nova and add you as a teacher at the school.
- If the school uses MPASSid, registration and joining a new school will be done there. Registration or joining a new school is also possible during the spring semester via Teacher’s World at https://opepalvelu.otava.fi/register.
Nova’s Homepage
On Nova’s homepage view:
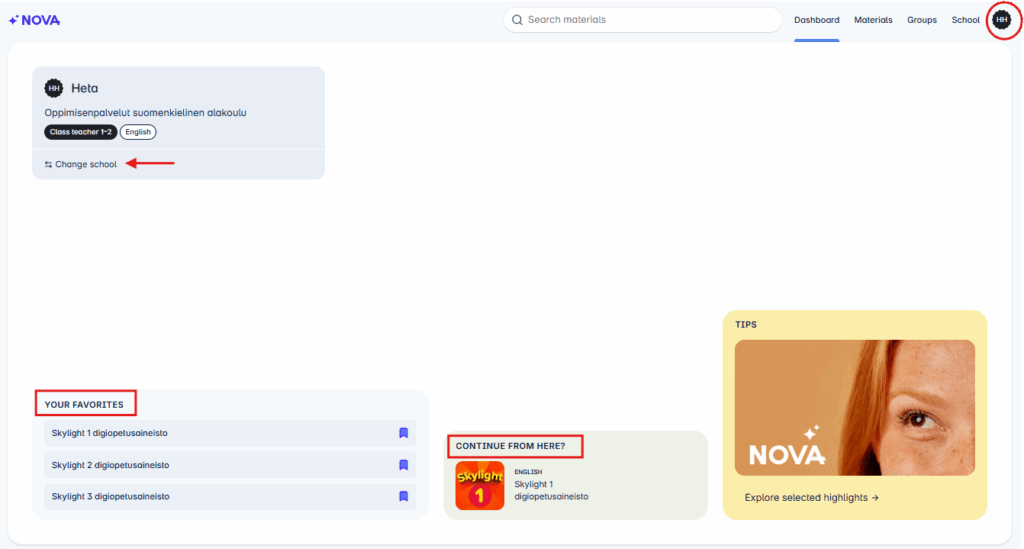
- You can edit your profile information from the My Information button (your initials in the top right corner of the page).
- You can return to your school list and switch to another school view.
- Use the search function to filter the digital materials available at the school.
- In the Favorites section, you can see the digital materials you have saved as favorites.
- In the Continue from here? section, you can access the material you last used.
Materials
- You can access the Materials tab from the Materials link in the top right corner of the page.
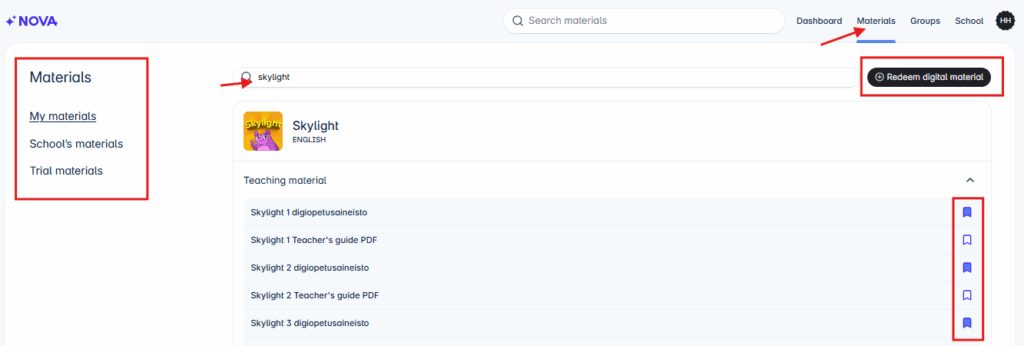
- In the My Materials tab, you can see the materials targeted to you based on the subject saved in your profile.
- In the School’s Materials tab, you can find all the materials the school has access to.
- In the Trial Materials tab, you can take materials for a 30-day trial.
- You can also filter the materials available at the school using the search function.
- Save favorites by clicking the bookmark icon.
- Redeem digital material by clicking the Redeem Digital Material button using the activation code received in your order confirmation.
Tip! In Nova, digital materials open in the same browser window. This is based on digital service accessibility requirements. You can open the material in a new tab by right-clicking and selecting “Open link in new tab” or “Open link in new window”.
Groups
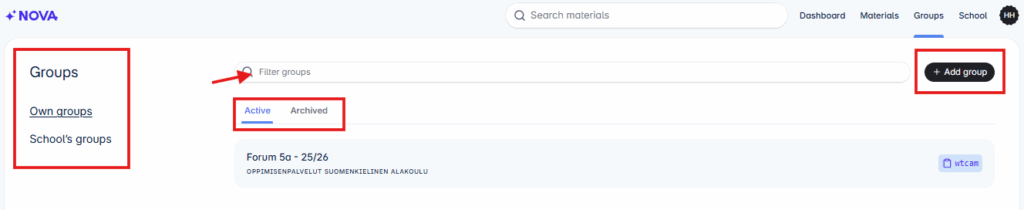
- In the Groups tab, you can create a new group, view and edit your groups.
- In the Own Groups section, you can see the groups you have created and the groups you have joined.
- In the School’s Groups section, you can find all the groups created at the school.
- You can filter groups.
- By default, active groups are displayed. You can also view archived groups.
Add Group
- Start adding a new group by clicking the +Add Group button.
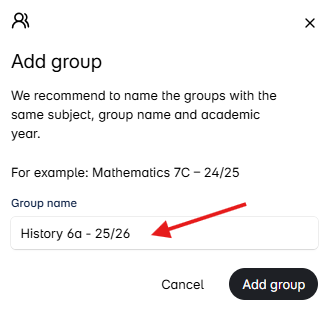
- Give the group a descriptive name and click Add Group.
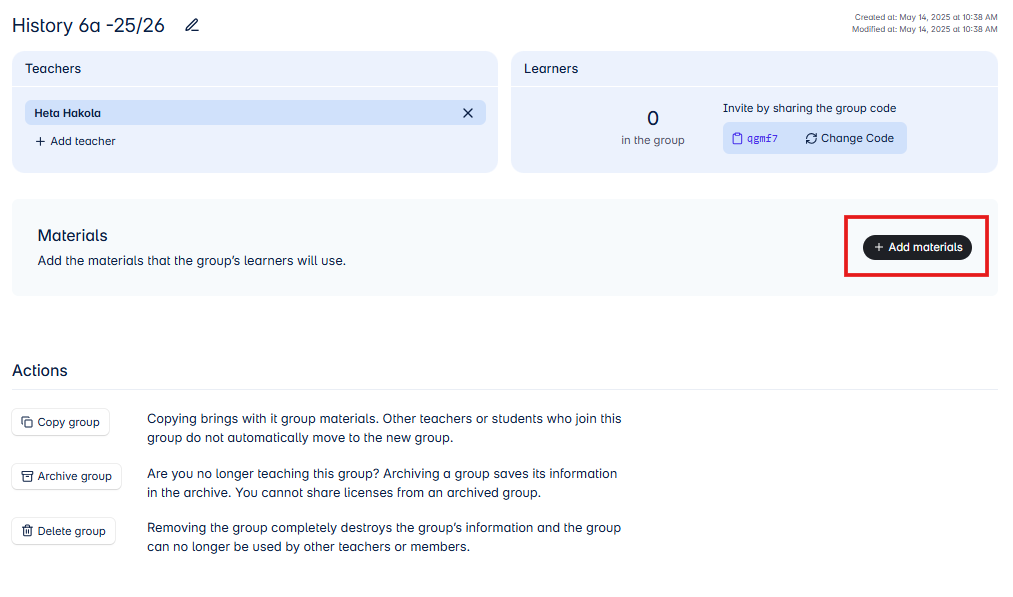
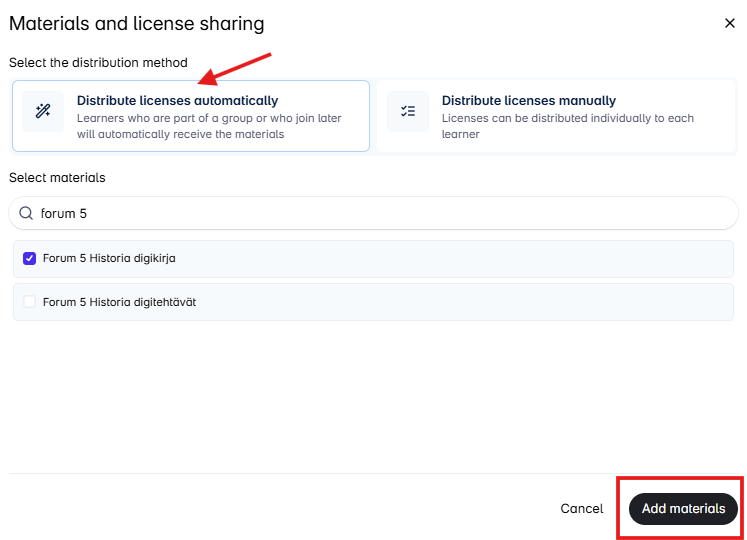
- Next, add a license to be distributed to the learner in the group by clicking the +Add Materials button.
- Choose whether you want to distribute the license automatically to all learners (distribute licenses automatically) or individually to each learner (distribute licenses manually).
- Then select the material to be distributed to the learner (in this example: Forum 5 History digital book) and click the Add Materials button.
- A group code will be generated for the group. Invite the learner to join your group by sharing the group code with them.
- In the group view, you can also copy, archive, or delete the group.
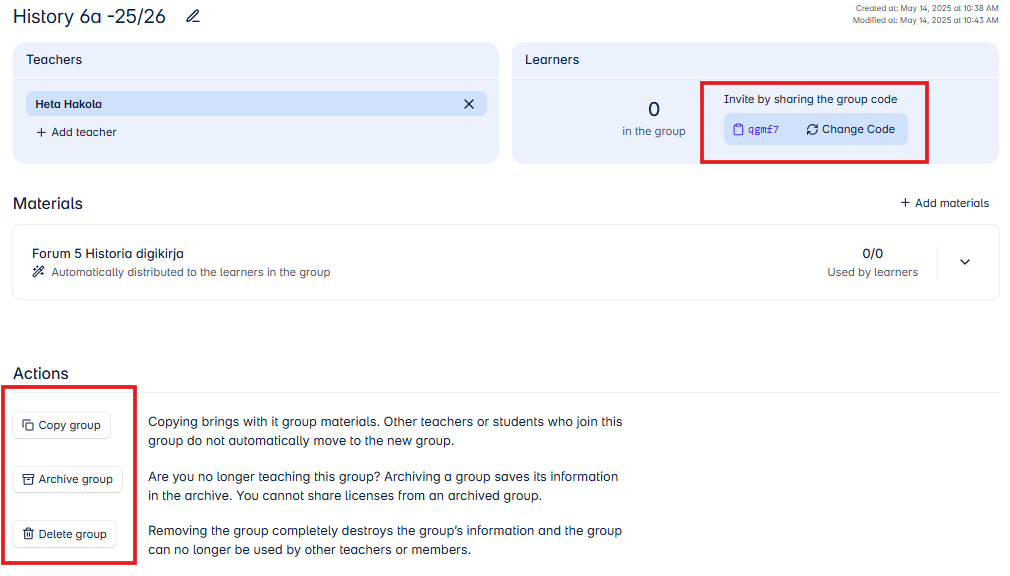
- In the group’s Materials section, you can add more licenses to the group if needed, remove a license, or change the license distribution method.

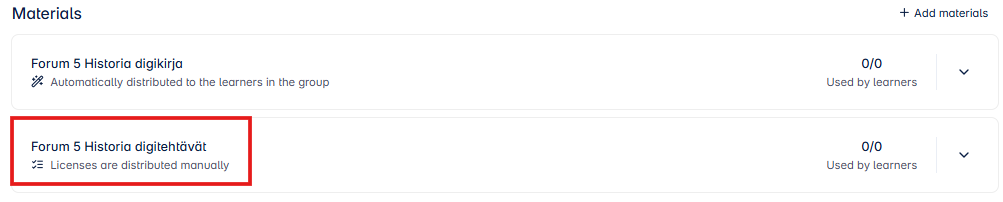
- In this example, another digital license (Forum 5 History digital tasks) has been added to the group, which is distributed individually to each learner (not automatically to all learners in the group).
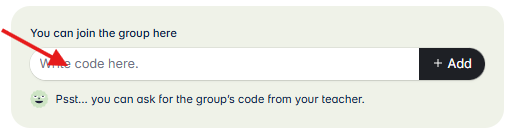
- A primary education student joins the group in Nova using the group code.
- In primary education groups, the teacher also has the option to add the student to their group through the Learners section in the group view.

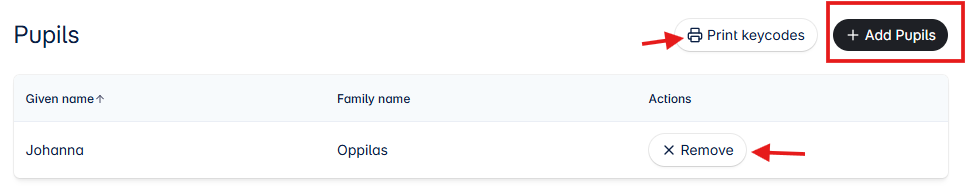
- Select the pupil for your group by clicking the +Add Pupils button. You will get a list of pupils added to the school’s pupil list.
- In the Pupils section, you can print the key codes for your group’s pupils if needed. Removing a pupil from the group is also done here.
- After joining or adding a pupil to the group, the group view will update with the information that the pupil has joined your group.
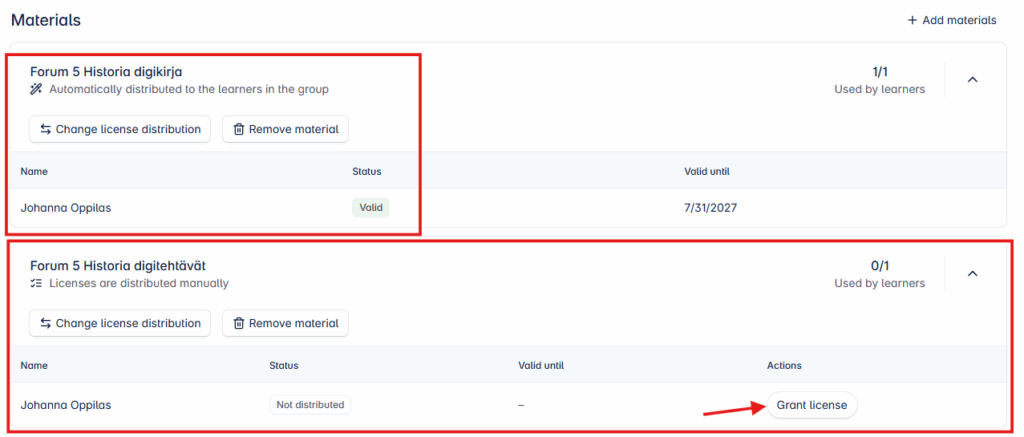
- The pupil automatically received the Forum 5 History digital book license upon joining the group. The status “Valid” indicates that the pupil has opened the license and activated the digital book. Before opening the license, the status will show “Waiting fo Activation“.
- The Forum 5 History digital tasks license was chosen to be distributed manually. If you want to distribute the license to the pupil, click the Grant license button.
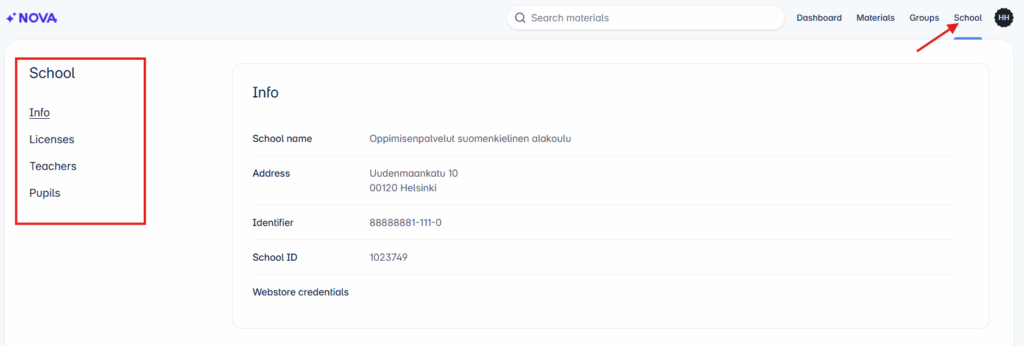
School
- In the School tab, you can find general information about the school.
- The school administrator can see the school’s Webstore credentials for ordering learning materials from Otava’s online store.
- In the Licenses section, you can find information about the digital materials ordered by the school.
- The Teachers section contains information about the teachers associated with the school. The school administrator invites new teachers to join the school here.
- In primary education schools, the School tab also shows information about the school’s students.
Licenses
- In the Licenses section, you can find information about the licenses available at the school.
- The license view is divided into For Pupils (primary education student licenses), For students (secondary education student licenses) and For teachers (school licenses available to teachers.
- You can view the information by sorting the valid, forthcoming, and expired licenses.
- Filtering licenses is also possible.
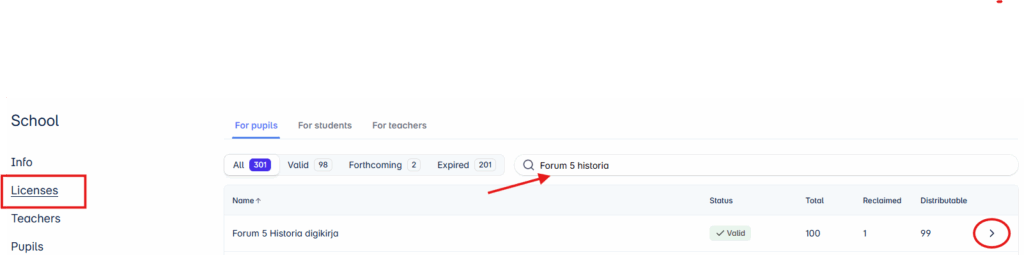
- In the license row, you can see the total number of ordered licenses, how many have been reclaimed and how many are still available for distribution.
- Click the arrow key to see to who has reclaimed the license.

Teachers
- The Teachers section contains information about the teachers associated with the school.
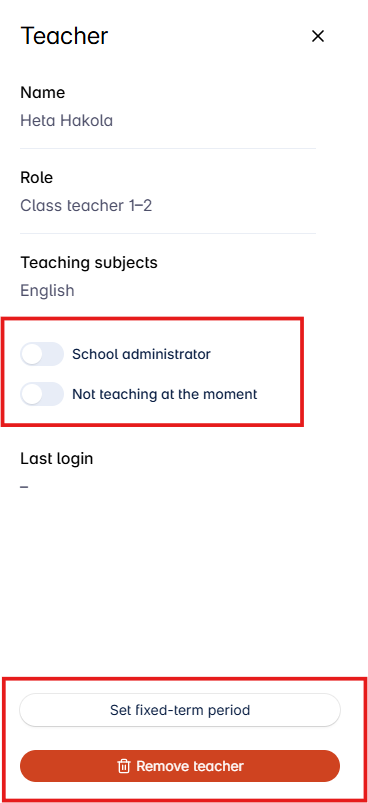
- The school administrator can update existing teacher information (circled i in front of the name).
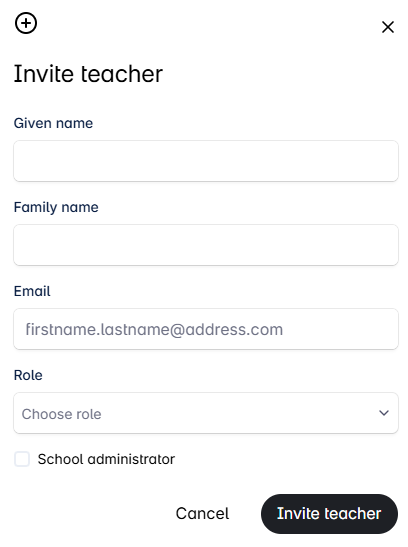
- The school administrator invites a new teacher to join the school by clicking the Invite Teacher button.

- The administrator can set the teacher as a school administrator, on leave (not teaching at the moment), set fixed-term period or remove the teacher from the school’s teacher list.
Inviting a Teacher to the School
- If the teacher is a new user of the service (they do not have previous credentials for Teacher’s World) or a teacher with active credentials wants to join a new school, they must contact the school’s administrative staff who acts as the school’s administrator in Nova.
- The teacher does not register or request to join a new school in Nova.
- If the school uses MPASSid, registration and joining a new school will be done there.
- The administrator invites the teacher by entering the teacher’s name, email address, role, and teaching subject in the invitation form. If the invited person acts as an administrator, they can also be updated as a school administrator during the invitation.
- The teacher will receive an email notification of the invitation and an activation link to set a password for logging into Nova.
- If the teacher already has an active Nova account and the administrator invites them as a school teacher, they will receive an email notification that they have been added to a new school.
Pupils
- In the Pupils section, the school’s pupil information is maintained. The school administrator has the right to add a new pupil to the school’s pupil list.
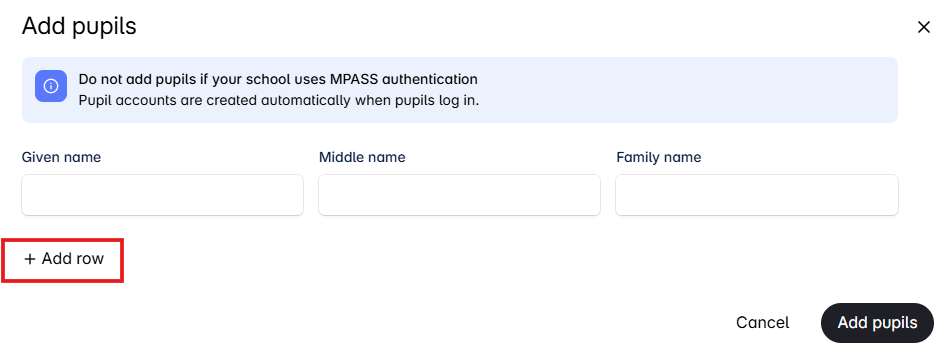
- If the school uses MPASSid authentication, pupils are not added to the pupils list. The information stored in the school’s system is automatically transferred to the pupil list when pupils log in to Nova with MPASSid.
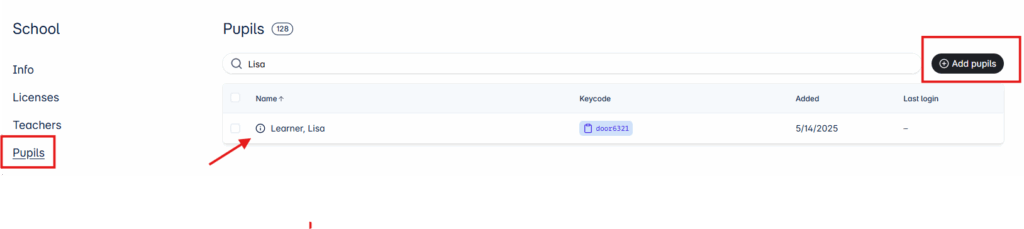
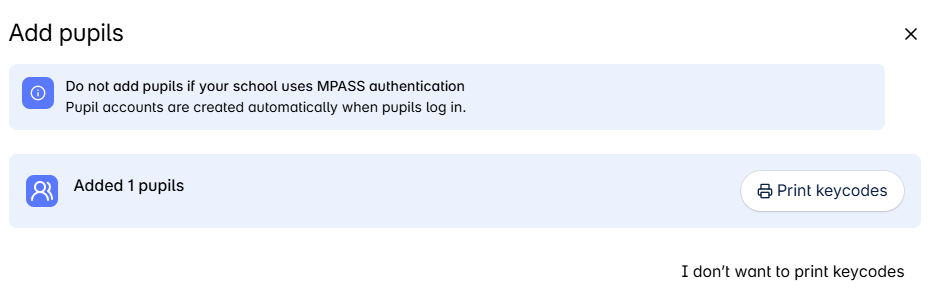
- Start adding a new pupil by clicking the “Add pupil” button.
- Clicking +Add Row will add more rows for entering multiple pupil details.
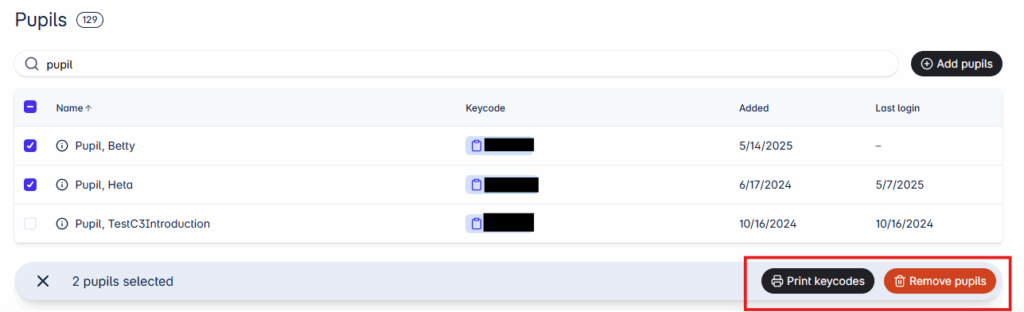
- After entering the pupil details, you can print the key codes for the added pupils.
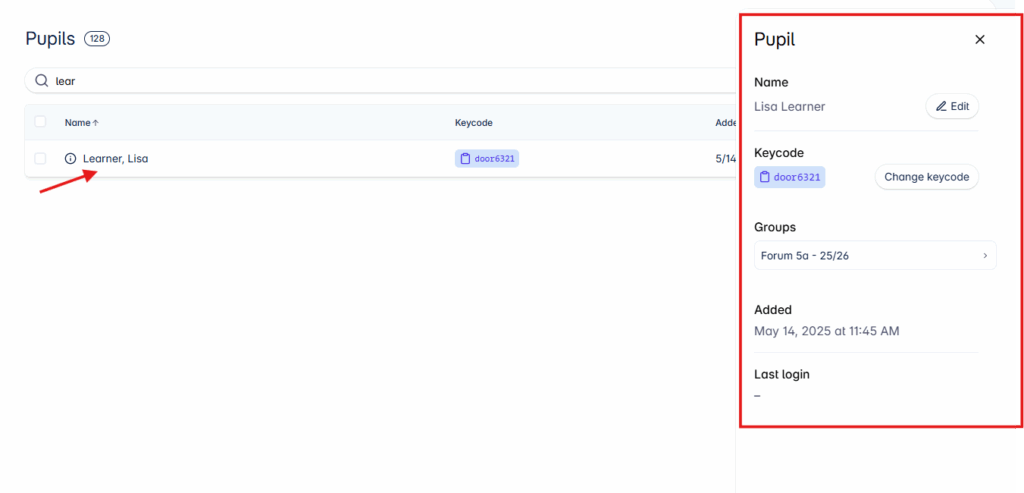
- Clicking the pupil’s name on the pupil list allows you to edit the pupil’s information: you can update the key code, edit the name and remove the pupil. You can also see when the pupil was added to the pupil list and when they last logged into Nova.
- You can filter the pupil list information.
- The school administrator has the right to remove multiple pupils from the list at once. Select the pupils and check the box in front of the name. Then click the “Remove pupils” button.